Up until now our applications have been entirely console based. Realistically, we would want a window that the user can interact with; a user interface. Java has several methods for creating functional user interfaces, but for this lesson we’re going to focus on the JavaFX set of libraries.
JavaFX actually stopped being part of the Oracle JDK but luckily, the open source variant is still being developed and worked on.
In order to download the libraries, you’re going to need to go to: https://gluonhq.com/products/javafx/
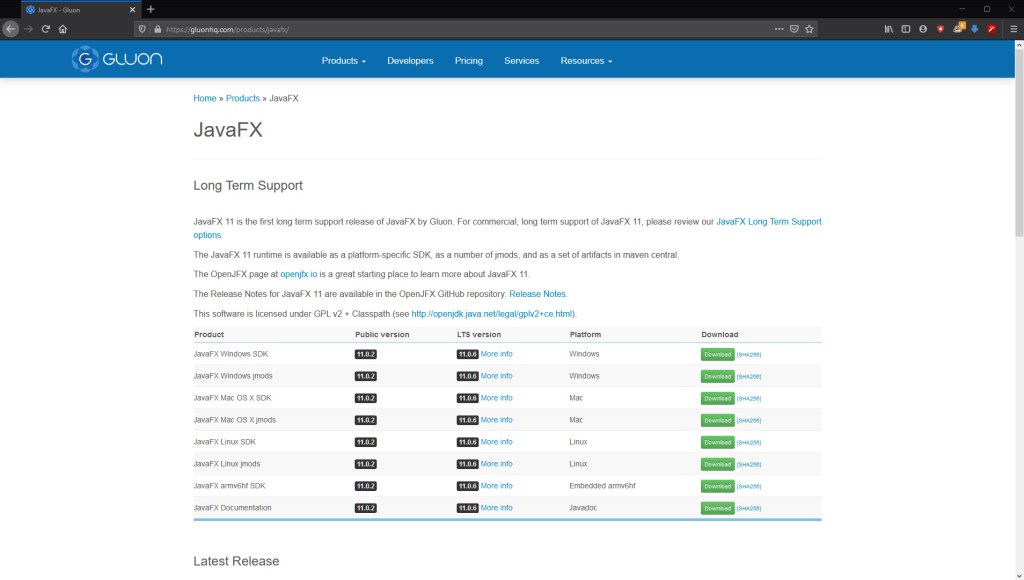
When you’ve downloaded the appropriate version, you’ll want to unzip it so you have access to the files.
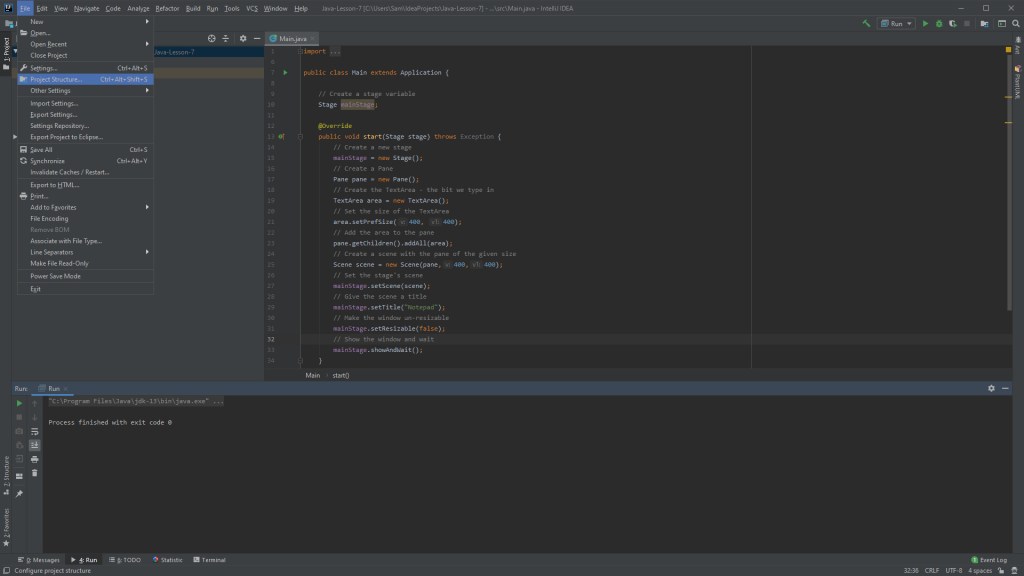
When it comes to setting up the JavaFX in IntelliJ, you’ll want to go to project structure:
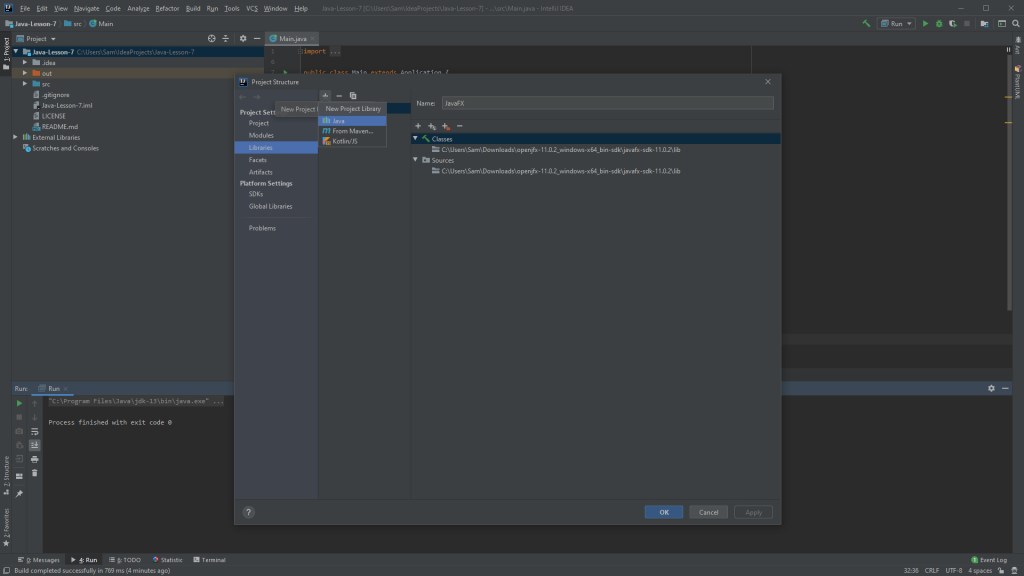
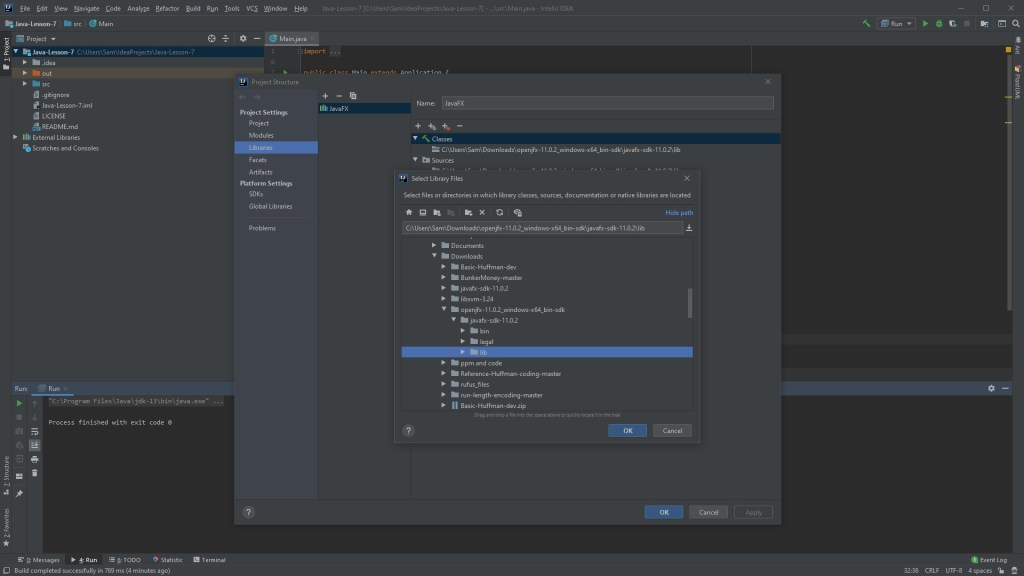
Then we’re going to select “Libraries”, use the add button, then navigate to the “lib” folder of JavaFX. If we just select that folder, everything will be included.
Next we need to include some VM arguments in our run configuration. In your run configuration wizard you should see the VM arguments box:
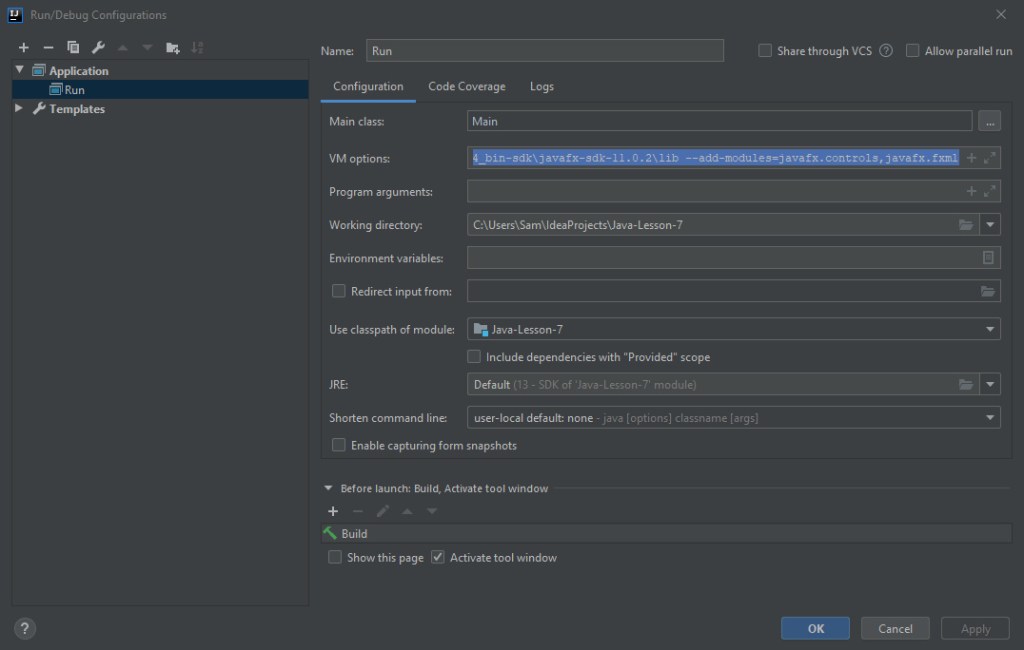
You’ll want to include:
–module-path –add-modules=javafx.controls,javafx.fxml
For example this is how mine looks, your file path may differ depending on your machine and where you put the library files.
–module-path C:\Users\Sam\Downloads\openjfx-11.0.2_windows-x64_bin-sdk\javafx-sdk-11.0.2\lib –add-modules=javafx.controls,javafx.fxml
With that out of the way though, we’re ready to get a special tool for working with JavaFX; the scene builder.
You can find the scene builder tool here: https://gluonhq.com/products/scene-builder/
It allows us to easily drag and drop interface elements into place, and creates something called and FXML file, which we then create a controller for in Java. Then we can assign functions to the interface elements, like buttons.
We’ll look more at scene builder next time, but for now just go ahead and install it, so it is ready.
Now we’re going to create our basic JavaFX application. We’re going to essentially generate a window that we can fill with text, a notepad if you will.
For this we will be using the TextArea object from JavaFX. But first we must set up the class that starts the application.
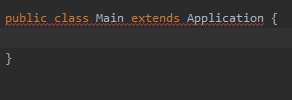
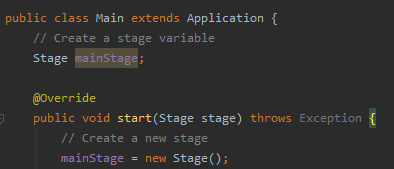
Create a Main class and let it extend application. For JavaFX applications, we don’t need the main function, instead we need a start function:
We’re now ready to build and show the window.
And with the window built and displayed, the last thing to do is to create and add the TextArea to our notepad.
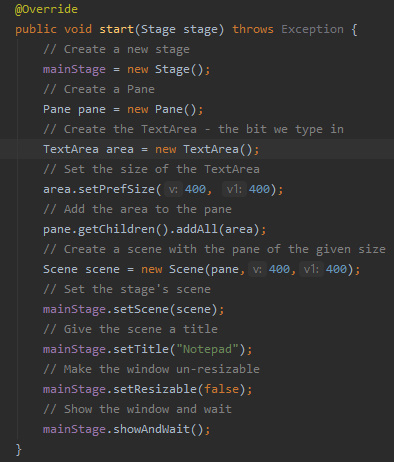
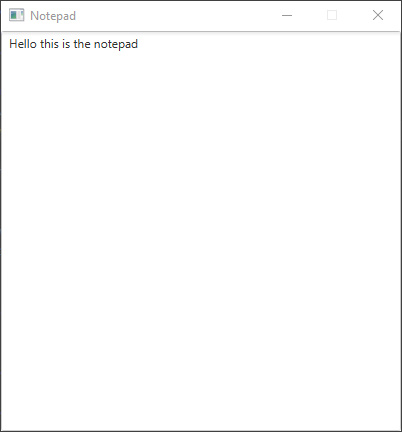
An there you have it, you’ve just made a bare-bones application with an actual user interface.
Next time
Next time we will be working with the scene builder, making a FXML file and corresponding controller, making buttons and making menus for our interface.
