So when it comes to creating simple interfaces in Java we can use JavaFX coupled with the scene builder that we looked at last time.
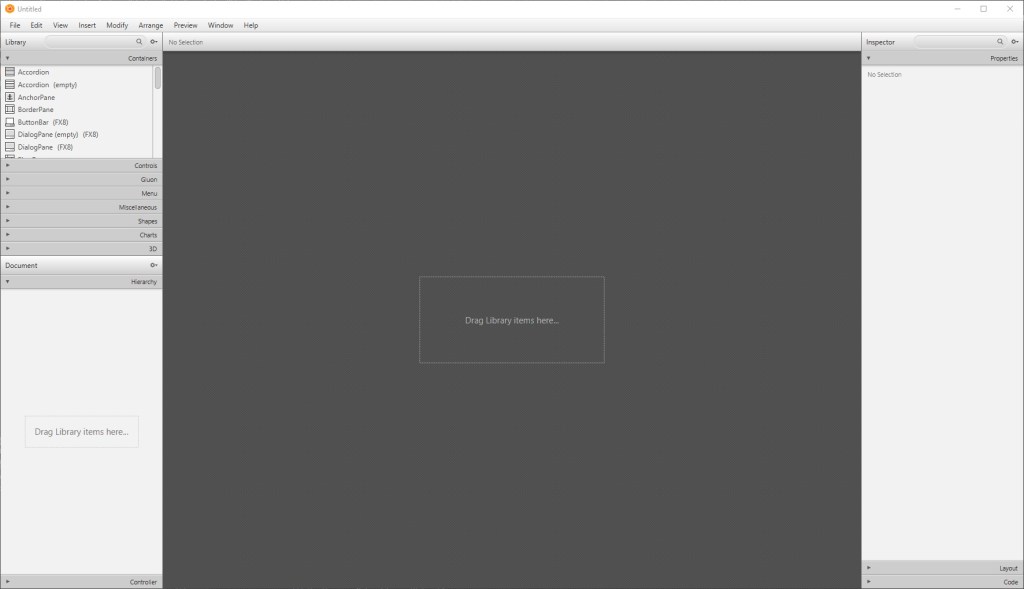
When you open the scene builder, it will look something like this, with the option to create a blank interface or choose from templates. For the purposes of this tutorial, we’ll pick a blank design and build the interface from scratch.
The first thing that we’re going to want to do is decided what sort of “Pane” we want as our base, as this can offer us different layouts for our application. For this tutorial, we’ll be using the BorderPane, so feel free to drag an drop that in.

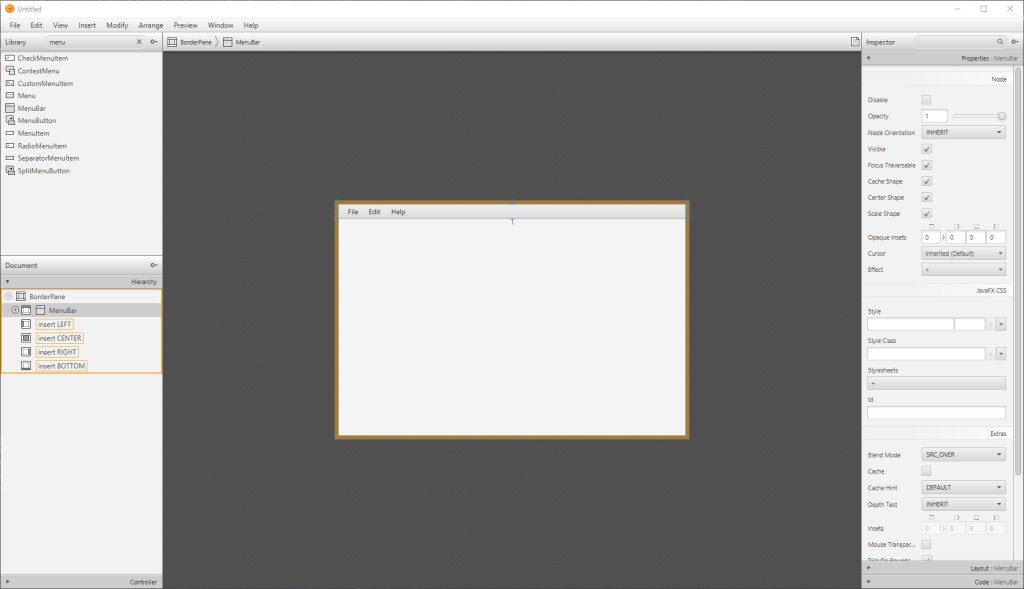
We’re presented with a pretty empty interface right now, so we need to add some elements to it. Let’s start with a MenuBar. Navigate to the elements box on the left and search for the MenuBar.
Drag and drop this element onto the top of the BorderPane. Now it’s starting to look more like an interface.
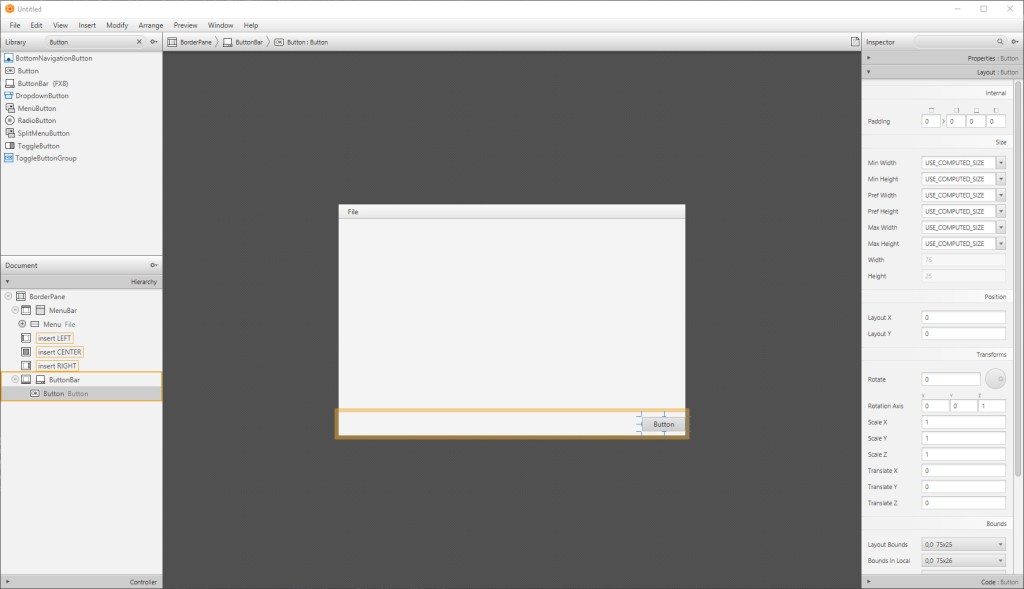
Next we’re going to add some buttons, which we will add with a ButtonBar and adding some Button objects to it.
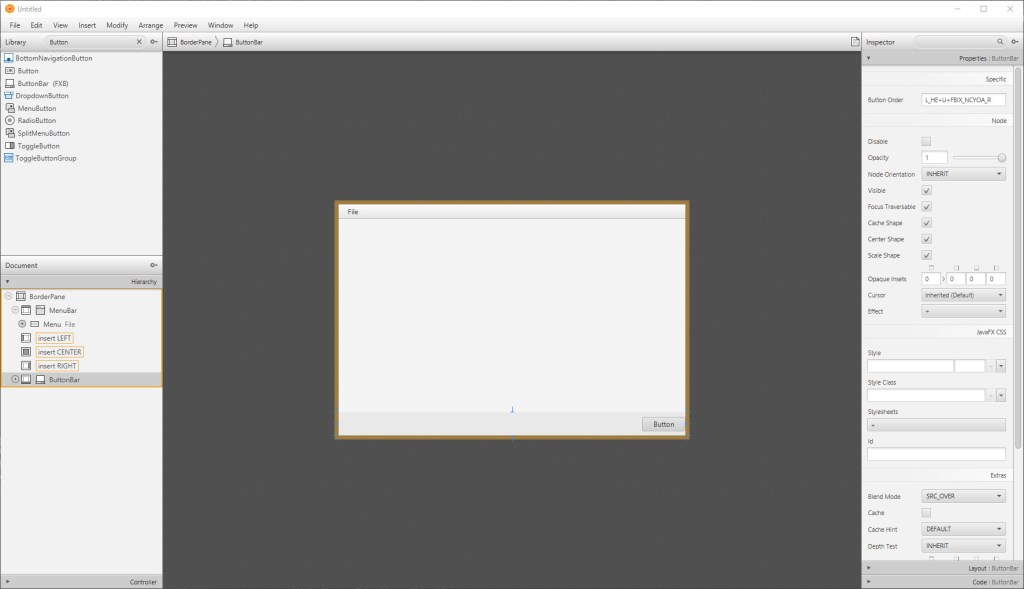
We can change properties of the buttons using the pane on the right. This includes the size, text and ID of the button as well as many other properties.
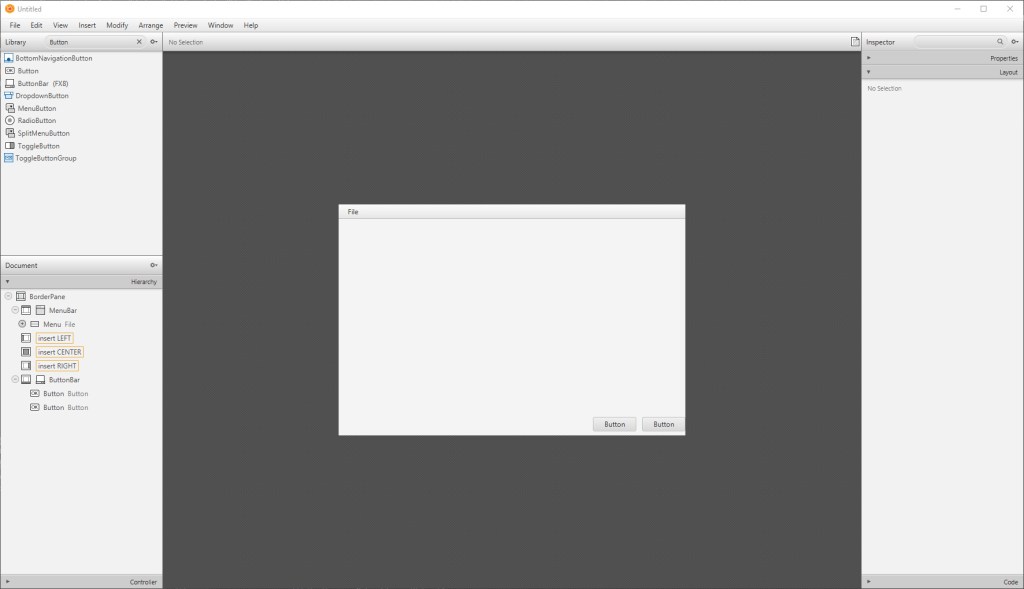
We can do the same for the MenuItems in the MenuBar, which you can see/select in the lefthand bottom tab.
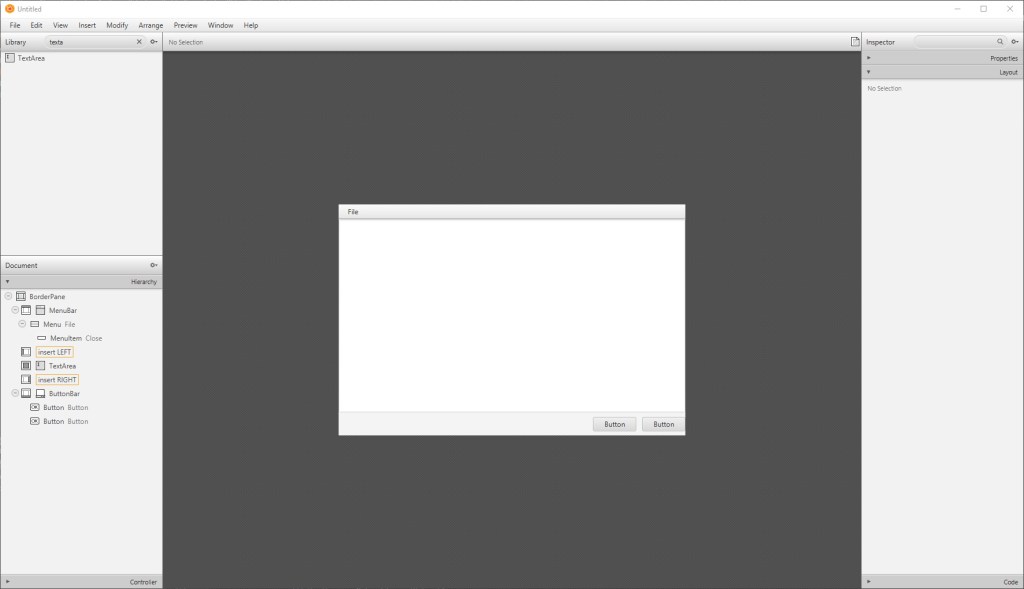
To build on out notepad style application from last time, we’ll put a big TextArea in the middle.
Once you have an interface that looks like this we’ll be good to save the FXML file and create a controller.
When it comes to creating a project that will utilize the FXML file we need a controller class to define what the FXML elements are doing. This is done by declaring a class that implements initializable.
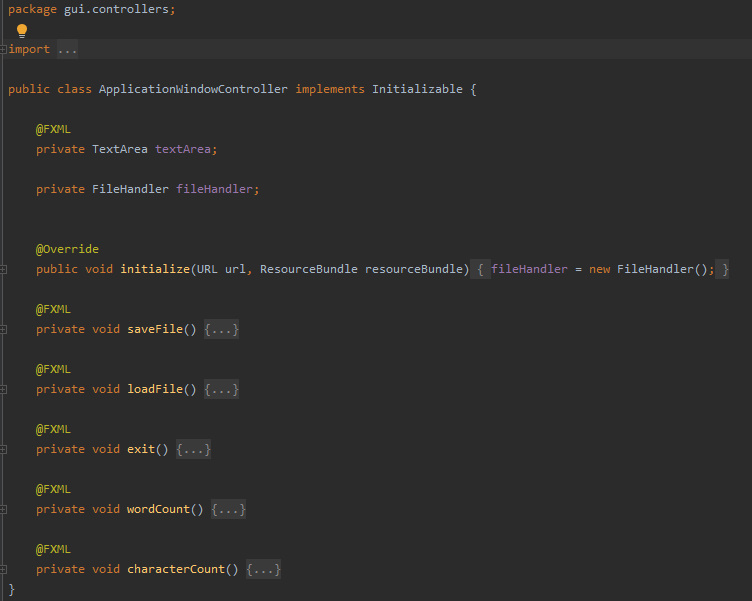
Then, once we have added the compulsory functions, we can start adding fields and functions for the interface to use by tagging them with the @FXML tag. But it may help to ensure that the controller has been set within the FXML itself.
Navigate to the FXML and along the shown line, add the “fx::controller” statement. This means that the FXML now knows what it’s controller is.
We can then add functions and fields for the FXML to use when interface elements are interacted with. This is shown below:

It is important to note that when you want the buttons or menu items to call a specific function, you have to tag the function with the @FXML tag, then add the “onAction” statement in the FXML. This is shown above and below:

Now we have all the functions declared we just need to define them. You should have everything you need to do this so go ahead and give it a try, and if you get stuck, have a look on GitHub for the finished code I did.
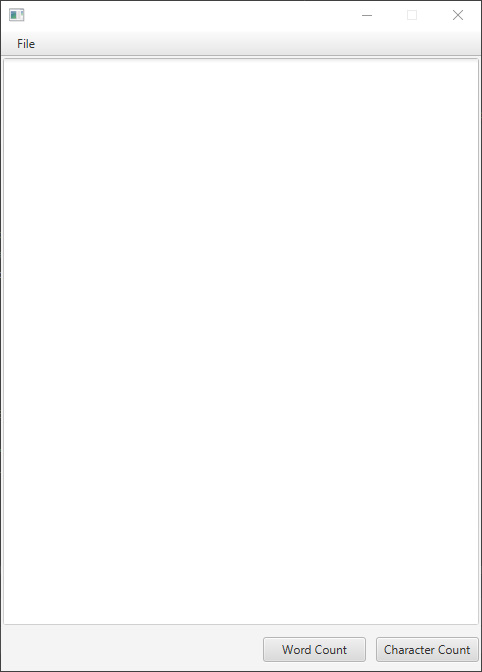
And there we have the finished product, a fully functional, working notepad application.
Next time
Next time, we will just be covering theory. We’ll look at how Java actually works and what makes it a good language to learn. We’ll be discussing key Object-Oriented concepts – what they mean and how they’re beneficial. We’ll also have a brief summary of the course and what you’ve learnt.
