Up until this point we’ve been using header files that are provided as standard with C. But what if we wanted to make our own header with functions that we could then include in our other projects. Today we will be looking at this process.
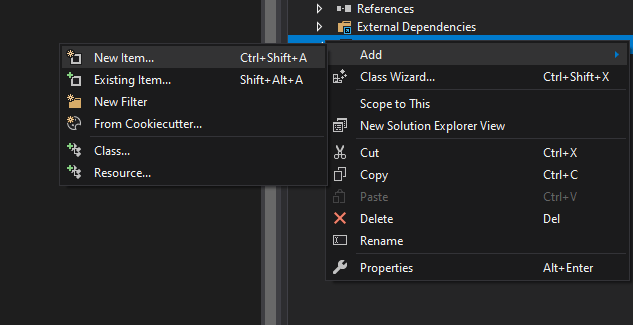
Firstly, we’ll want to create a header file and give it a name. In Visual Studio, we can do this by right clicking in project solution pane and selecting “Add -> New Item”. In the projects we’ve been using, there is a dedicated “Header files” directory that we will add it to.
With the header file created we can now declare some functions. We’ll declare the four basic mathematical functions for simplicities sake:
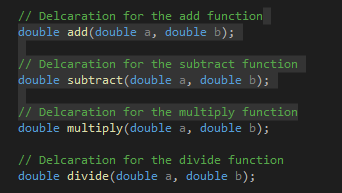
Note how we haven’t written the body of the functions yet. By convention this should be done in the corresponding “.c” file (“.cpp” for this tutorial), so we’ll go ahead and make that next.
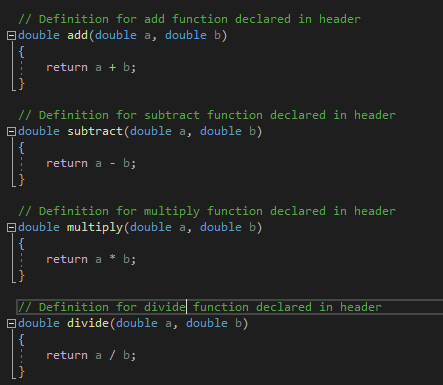
In this new file we now want to write the definitions for all our functions that we placed in the header file.
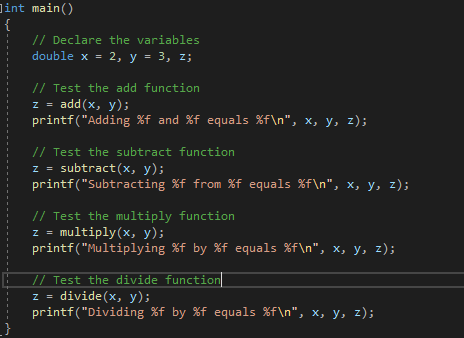
Now that we’ve created the header file and written the function bodies, we’re ready to test using this header file. To do this, we use the “#include” statement as we did previously, only this time, instead of using “<>” to contain the library name, we’re going to use regular speech marks.

This then gives us access to all the functions in the header file, which we can test with the following code:
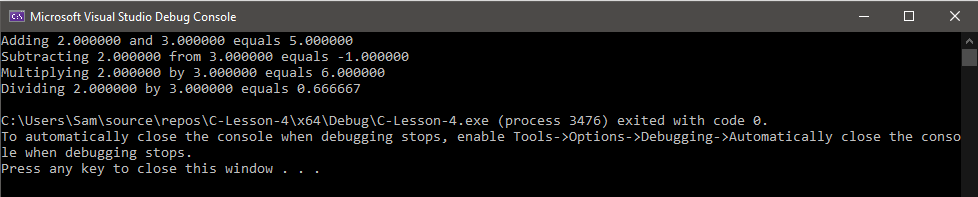
And that about covers header file creation in C.
Next time
Next time we will be looking at conditional statements and loops, as well as the illegal GOTO statement.
